Add rich comments to your Refine app
This tutorial will show how to create comments for blog posts and add it to your Refine powered React app using our comments component.
Have your favorite code editor ready, and let's get started!
Prerequisites
We assume you are well acquainted with the Refine API and have a Refine powered app ready. This tutorial takes advantage of Ant Design components for layout, but you may easily adapt it to other UI Frameworks as well.
You will need:
- A Weavy environment
- Node.js
- Your favorite code editor
1. Prepare your Refine app
Make sure you have a Refine powered app. For this tutorial we make use of NextJS with Ant Design.
Refine has a ready-to-go Authentication with NextAuth.js example for this.
npm create refine-app@latest -- --example with-nextjs-next-auth
2. Configuring Weavy
We need Weavy to be configured with an environment url and authentication to get the components running.
Make sure you have followed the tutorial for What to do first with Refine to configure authentication.
3. Adapt the layout
We're adding comments to the show page of a blog post. To make it look good you can wrap the post in a container that provide some gap between it's children.
- Open the blog post show page found in
/src/app/blog-posts/show/page.tsx. - Import the
Spacecomponent fromantd. - Wrap the returned content in a
<Space>wrapper and set thedirection="vertical"andsize="middle".
import { Space } from "antd";
...

export default function BlogPostShow() {
  ...
  return (
    <Space direction="vertical" size="middle">
      <Show isLoading={isLoading}>
        <Title level={5}>{"ID"}</Title>
        <NumberField value={record?.id ?? ""} />
        <Title level={5}>{"Title"}</Title>
        <TextField value={record?.title} />
        <Title level={5}>{"Content"}</Title>
        <MarkdownField value={record?.content} />
        <Title level={5}>{"Category"}</Title>
        <TextField
          value={
            categoryIsLoading ? <>Loading...</> : <>{categoryData?.data?.title}</>
          }
        />
        <Title level={5}>{"Status"}</Title>
        <TextField value={record?.status} />
        <Title level={5}>{"CreatedAt"}</Title>
        <DateField value={record?.createdAt} />
      </Show>
    </Space>
  )
}
4. Add comments
The comments are easily added by importing the <WyComments> component and placing it last in the <Space> wrapper.
You will need a uid for the comments component. This is a unique string that should be more or less related to where it's placed.
- Import
WyCommentsfrom@weavy/uikit-reactand place<WyComments>last in the<Space>wrapper. - Construct a string for the
uidwhere you make use of the currentrecord.id. Use the string for theuidattribute on<WyComments>.
import { WyComments } from "@weavy/uikit-react";
...

export default function BlogPostShow() {
  ...

  const commentsUid = record?.id ? `refine:categories:${record?.id}:comment` : undefined

  return (
    <Space direction="vertical" size="middle">
      <Show isLoading={isLoading}>
        <Title level={5}>{"ID"}</Title>
        <NumberField value={record?.id ?? ""} />
        <Title level={5}>{"Title"}</Title>
        <TextField value={record?.title} />
        <Title level={5}>{"Content"}</Title>
        <MarkdownField value={record?.content} />
        <Title level={5}>{"Category"}</Title>
        <TextField
          value={
            categoryIsLoading ? <>Loading...</> : <>{categoryData?.data?.title}</>
          }
        />
        <Title level={5}>{"Status"}</Title>
        <TextField value={record?.status} />
        <Title level={5}>{"CreatedAt"}</Title>
        <DateField value={record?.createdAt} />
      </Show>
      <WyComments uid={commentsUid} />
    </Space>
  );
}
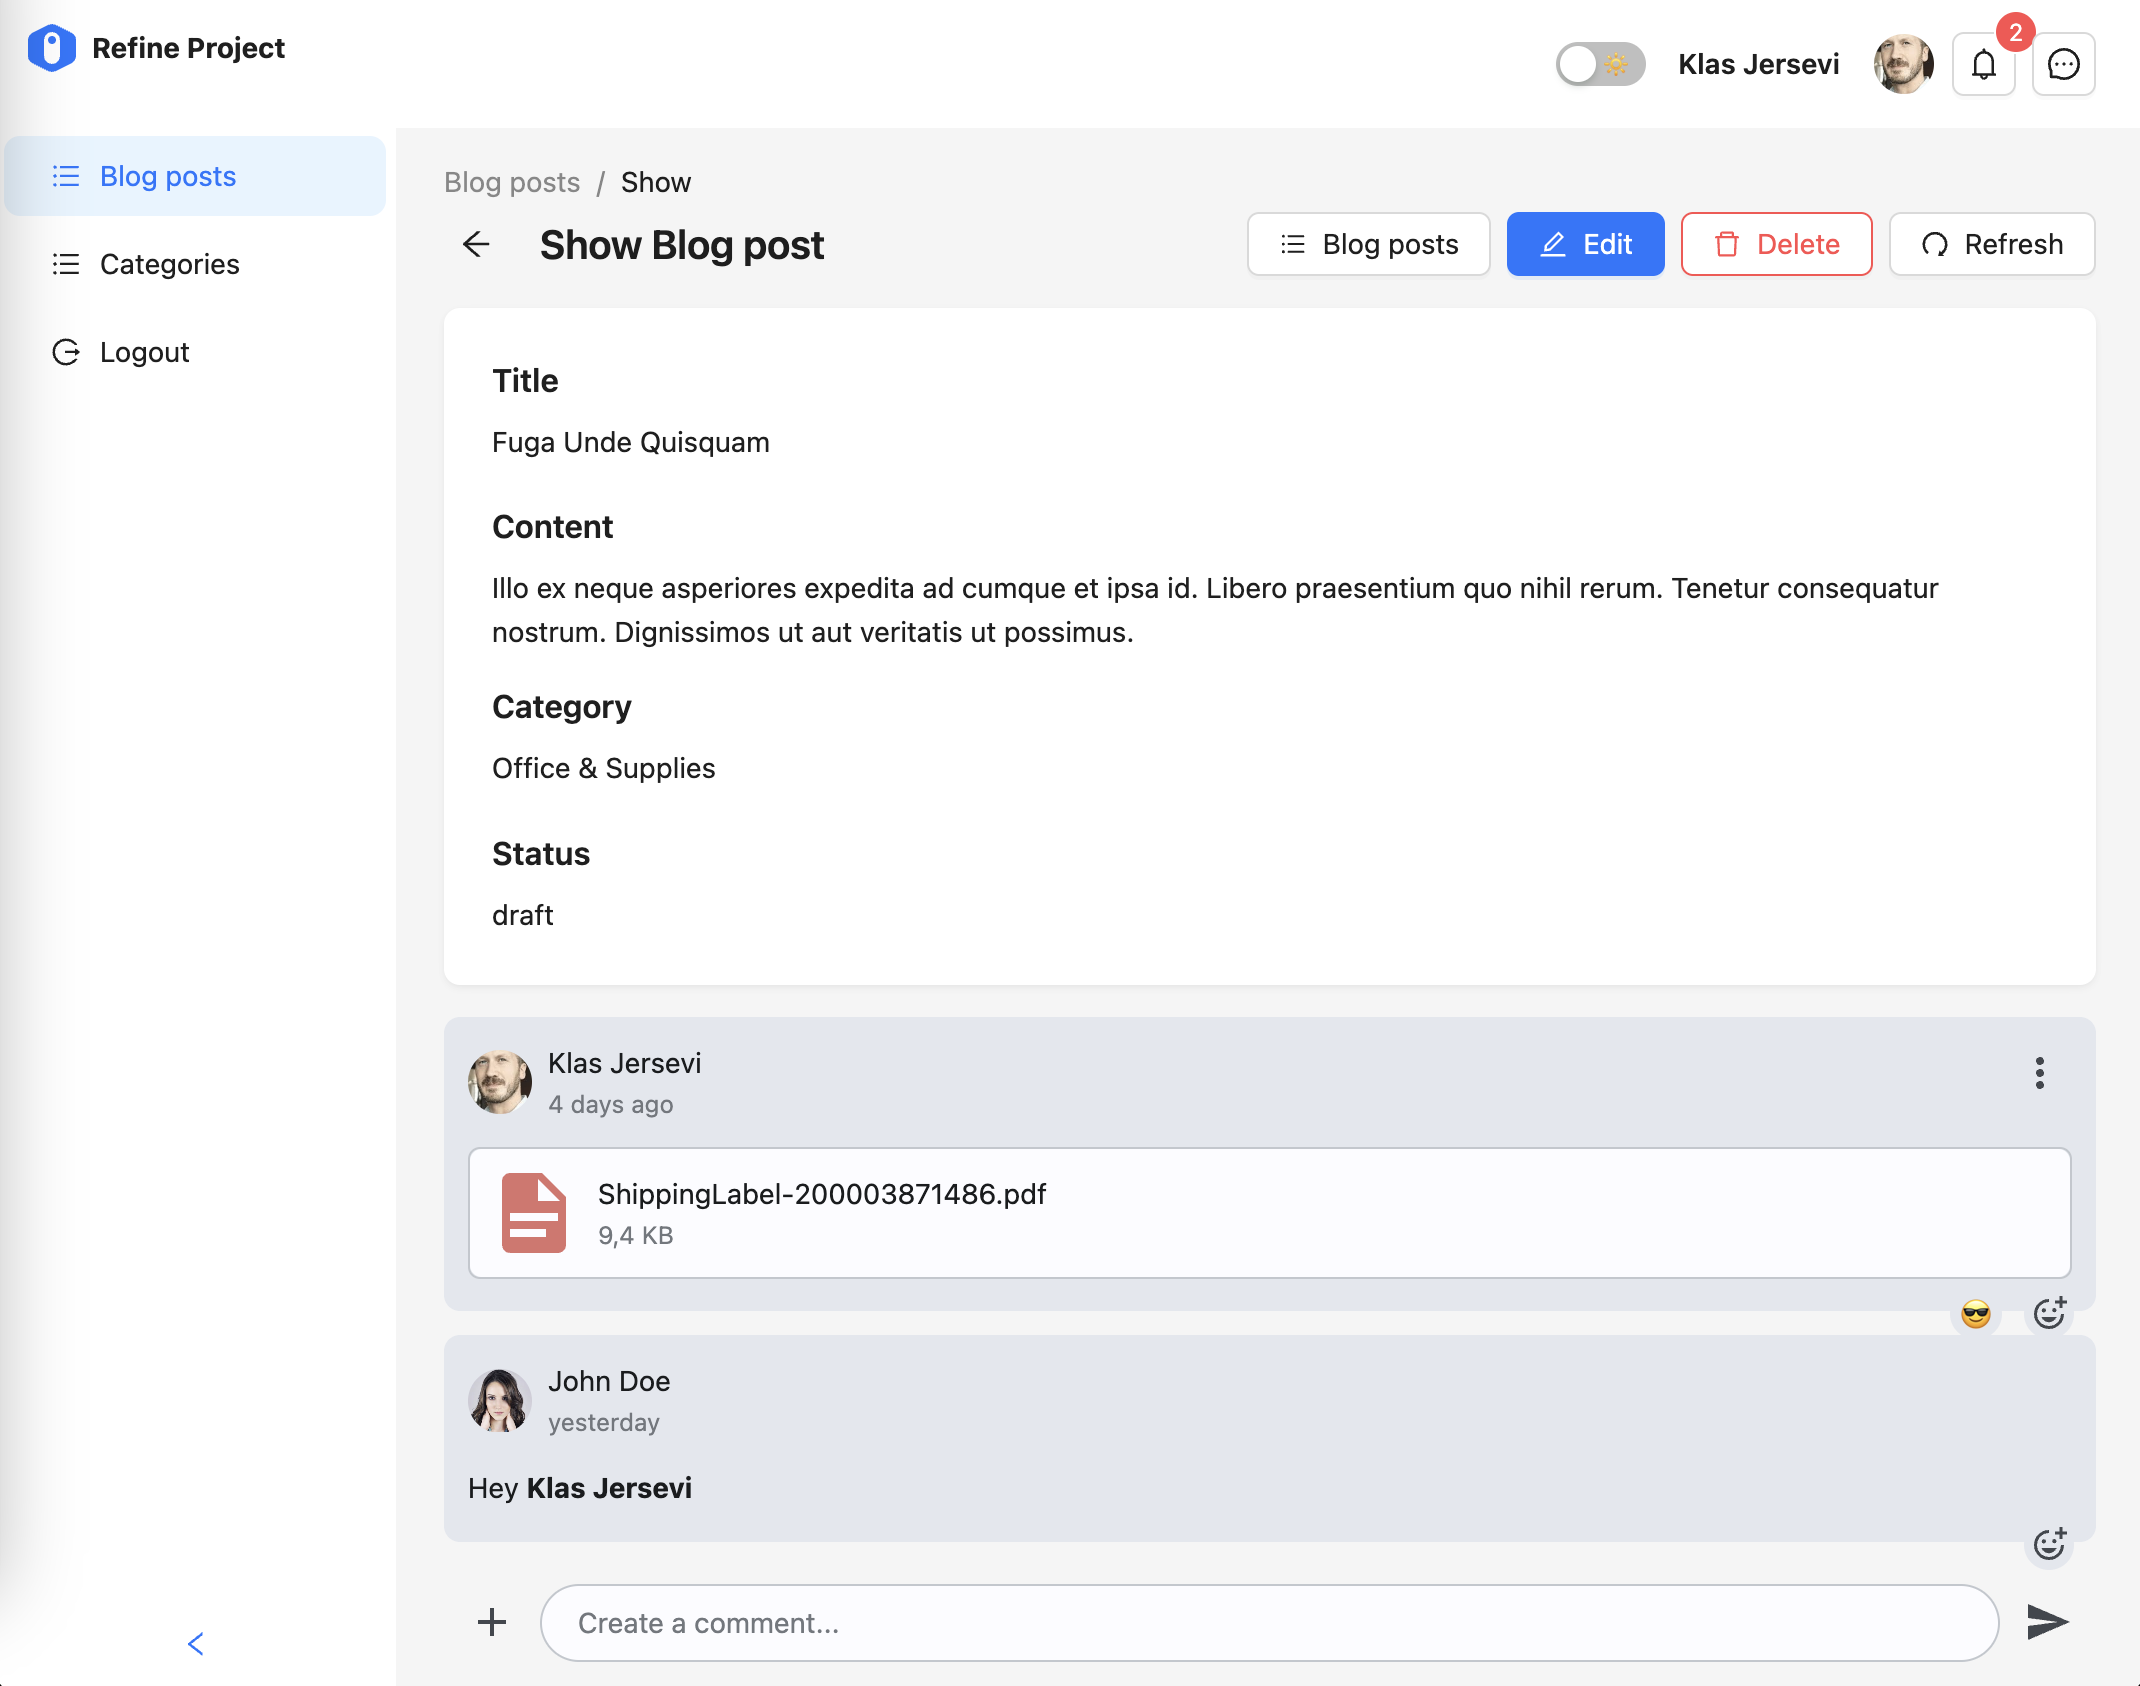
5. Done!
The comments are now ready for use. Just click to show any post and you will have rich comments for your users!